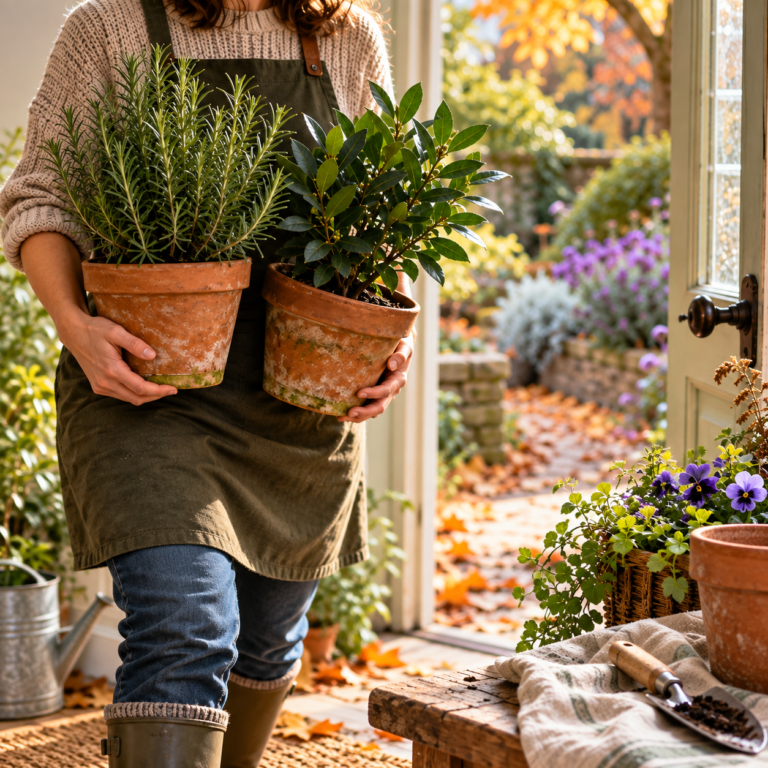
How to Regrow Herbs From Cuttings: Never Buy Supermarket Herbs Again
There’s something quietly satisfying about snipping a stem from one thriving plant, popping it in a jar of water on your windowsill, and watching roots appear within days. Regrowing and propagating herbs from cuttings is one of the simplest things you can do in a kitchen garden — and right now, it’s genuinely trending. The “grow from scraps” movement has taken off on TikTok and Instagram, with home growers sharing their little jar gardens and showing just how easy it is to multiply your herbs for free.
Whether you’re working with a single pot of basil or a sprawling herb garden, learning to propagate from cuttings means you’ll always have a steady supply of fresh herbs on hand. This guide covers everything you need to know — which herbs work best, how to take a good cutting, and how to keep things growing all year round.

As an Amazon Associate I earn from qualifying purchases and sometimes recommend products from other sellers at no extra cost to you. For more details see my disclosure policy and privacy policy.
Why Propagating From Cuttings Actually Works
Plants have a remarkable ability to regenerate from a single stem. Most soft-stemmed herbs contain what are called meristematic cells — essentially plant stem cells that can develop into roots when the conditions are right. When you place a cut stem in water or moist compost, these cells activate at the cut end and begin forming roots, usually within one to three weeks.
Forged & Grown — The Shop
Handpicked products chosen to fit the way we cook, grow, and create. Nothing generic — every item earns its place.
Visit the Shop


Not every herb propagates this way — some, like dill and cilantro (coriander), are annual plants that are better grown from seed, though they can still be rooted under the right conditions. Others, like mint, basil, and rosemary, are practically eager to grow new roots with very little encouragement.
The Difference Between Softwood and Hardwood Cuttings
The herbs you’ll propagate fall into two main categories, and understanding this helps you get better results. Softwood cuttings come from soft, flexible stems — think basil, mint, and lemon balm. These root quickly, often within one to two weeks in water, and are best taken in spring and summer when the plant is actively growing.
Semi-hardwood or hardwood cuttings come from woodier stems — rosemary and thyme are good examples. These take longer to root (sometimes three to four weeks), respond better to compost than water, and benefit from a rooting hormone powder or gel if you want to speed things up. Both methods are straightforward once you know what you’re working with.
Which Herbs Root Easily From Cuttings
Some herbs are so easy to propagate that they practically do the work for you. Others need a little more patience. Here’s a practical rundown of the most popular herbs and what to expect.
Basil
Basil is the one that gets people started. Trim a stem about 10–15cm long, snip off the lower leaves, and place it in a glass of water on a bright windowsill. Roots typically appear within one to two weeks, and you can pot it up once they’re a few centimetres long. It’s genuinely that simple. Once you have a basil plant going, you can keep propagating cuttings from it throughout the summer to maintain a constant supply — especially useful if you make homemade pesto regularly.
One thing to watch: basil dislikes cold water. Use room-temperature water and change it every two to three days to keep things fresh.
Mint
Mint is possibly the most enthusiastic propagator of any herb. It spreads underground by runners in the garden and roots just as readily from cuttings in water. Take a stem with a few leaves, remove the bottom ones, and place it in a jar. You’ll often see roots within a week. Because mint grows so vigorously, it’s worth keeping propagated cuttings in their own pot rather than a shared container. If you’re interested in the many varieties available, the mint family guide covers the key types worth growing. Propagated mint is perfect for fresh mint teas or keeping a steady supply for drinks like orange lemonade with mint.
Cilantro (Coriander)
Cilantro behaves slightly differently from mint and basil. It’s an annual, which means it completes its life cycle in one season — it grows, flowers, sets seed, and dies. This makes it less straightforward to propagate from stem cuttings, but it is possible if you catch the plant early in its growth before it bolts. Place a fresh stem with some leaf growth in water and you may see roots develop within two to three weeks, though success rates are more variable than with mint or basil.
The better long-term strategy with cilantro is learning to grow it from seed in succession — small batches every few weeks — so you always have plants at the right stage. That said, rooting cilantro in water is still worth trying, particularly if you have a stem from a supermarket bunch that still has some freshness to it.
Rosemary
Rosemary takes longer but is well worth the patience. Take a cutting about 8–10cm long from the soft new growth at the tip of a stem, strip the lower third of leaves, and either place it in a glass of water or press it into a small pot of gritty compost. Water propagation works but compost tends to produce stronger root systems for rosemary. Keep the cutting in a warm, bright spot out of direct sun, and expect roots within three to four weeks.
Once rooted, rosemary is a tough, long-lived plant that will reward you for years. For more on getting the best from this herb, growing rosemary indoors vs. outdoors is a good place to start.

Thyme
Thyme roots well from softwood cuttings taken in spring or early summer, before the stems become too woody. Take a 7–10cm cutting from the tips, strip the lower leaves, and place in moist compost rather than water — thyme’s roots prefer not to sit in water for long periods. Keep the cutting covered with a clear plastic bag or a propagation lid to maintain humidity, and you should see signs of rooting within three to four weeks. Thyme is one of the early spring herbs you can divide and share as clumps, too, which gives you another propagation method alongside cuttings.
Chives
Chives don’t propagate well from cuttings in the same way as other herbs — you won’t get roots from a snipped stem. Instead, the best approach is division: lifting an established clump from the ground or a pot, pulling it apart into smaller sections, and replanting them. Early spring is ideal for this, just as growth is beginning. Divided chive clumps establish quickly and reward you with a fresh flush of growth. For everything you need to know about this versatile herb, the complete chives guide covers varieties, growing, and uses.
Lemon Balm
Lemon balm is another enthusiastic propagator and a great candidate for water rooting. Like mint, it belongs to the same plant family and shares that same eagerness to generate new roots from a cut stem. Take a fresh stem about 10cm long, remove the lower leaves, and place in a glass of water. Roots appear within one to two weeks, and the resulting plant will grow vigorously. Lemon balm is wonderful for calming teas and digestive support — you can read more about growing and using lemon balm once your propagated plant is established.
How to Take a Good Cutting: Step by Step
Getting the basics right makes a real difference to your success rate. Here’s what to do regardless of which herb you’re propagating.
Choosing the Right Stem
Look for healthy, non-flowering stems with fresh green growth. Avoid any stems that are already producing flowers or seed heads — the plant’s energy has shifted toward reproduction rather than vegetative growth, and these cuttings root less reliably. If your basil has started to bolt, pinch off the flower heads first and take cuttings from the resulting side shoots.
The best cutting length is typically 8–15cm, depending on the herb. It should have at least two or three leaf nodes (the points where leaves attach to the stem) and look fresh and vigorous.
Preparing the Cutting
Using clean, sharp scissors or snips, make a clean cut just below a leaf node. Tearing or crushing the stem can damage the tissue and reduce rooting success. Strip off any leaves from the bottom third of the stem — these would rot if submerged in water or buried in compost, and that can introduce pathogens that kill the cutting before it has a chance to root.
For hardwood herbs like rosemary and thyme, some growers swear by dipping the cut end in rooting hormone powder or gel before inserting into compost. It’s not essential, but it can speed up the process if you’re working with stubborn cuttings.
Water Rooting vs. Compost Rooting
Water rooting is the most beginner-friendly approach and works brilliantly for basil, mint, and lemon balm. Place the prepared cutting in a glass or jar of clean, room-temperature water, making sure no leaves are submerged. Put it in a bright spot away from direct afternoon sun. Change the water every two to three days to keep it oxygenated and prevent bacteria building up.
Oregano, most soft-stemmed annual and perennial herbs
Woodier, semi-hardwood herbs with tougher stems
- Clean glass or jar
- Room-temp water
- Bright windowsill
- Small pot (9cm)
- 50/50 compost + perlite
- Clear bag or dome
✓ Very beginner-friendly
✓ Looks great on a windowsill
✓ Less transplant shock
✓ Better for woody herbs
✗ Roots may struggle in compost if left in water too long
✗ Can’t see roots forming
✗ Check with a gentle tug
Compost rooting is better for woodier herbs like rosemary and thyme. Use a small pot filled with a mix of peat-free compost and perlite or coarse sand (roughly 50:50) for good drainage. Insert the cutting, water it in, and cover loosely with a clear bag or dome to keep humidity up. Check after three to four weeks by very gently tugging the cutting — if there’s resistance, roots have formed.
The Mason Jar Water Garden Trend
One of the reasons propagating herbs has taken off as a trend is purely visual. A collection of herb cuttings in glass jars — roots visible, stems reaching upward — makes a genuinely beautiful windowsill display. Creators on Instagram and TikTok have been keeping mint, basil, and even cilantro semi-permanently in water jars, refreshing the water regularly and trimming leaves for cooking as needed.
This works surprisingly well for mint in particular, which can live in water for extended periods as long as you keep the jar clean and the water changed every few days. Basil also tolerates water culture reasonably well, though it will eventually need potting up for long-term productivity. If you’re interested in taking the concept further, hydroponic herb growing in mason jars covers everything from setup to ongoing care.
The aesthetic appeal is part of what’s driving the trend, and there’s nothing wrong with that. A row of glass jars on a sunny kitchen windowsill, each with a different herb rooting away, is both practical and genuinely pleasing to look at.
When to Pot Up Your Cuttings
Knowing when to move your water-rooted cuttings into compost is one of those things that takes a little practice to judge. As a general guide:
- Wait until roots are at least 2–3cm long and look white and healthy rather than brown and mushy.
- Pot up into a small container (9cm pots are ideal) using good quality peat-free potting compost.
- Water in gently and keep the young plant out of intense direct sun for the first week while it adjusts.
- Don’t be in a rush to move to a larger pot — herbs generally prefer slightly snug conditions and perform better when their roots fill the container.
For herbs intended for a kitchen micro garden or windowsill setup, keep the pots small and harvest little and often to encourage bushy new growth.
Caring for Propagated Herbs
Once your cutting has rooted and been potted up, it needs the same care as any young herb. The main things to get right are light, water, and feeding.
Light and Position
Most herbs want as much light as possible, particularly in the UK where daylight hours can be limited for much of the year. A south-facing windowsill is ideal for basil; mint and lemon balm will tolerate a slightly shadier spot but still prefer good light. Outdoors, a sheltered sunny spot suits most soft-stemmed herbs from late spring through autumn.
Watering
Overwatering is the most common way to lose a newly propagated herb. Let the compost dry out a little between waterings — stick your finger into the top centimetre of soil, and only water if it feels dry. Good drainage is essential; always use pots with drainage holes and don’t let plants sit in water.
Feeding
Propagated herbs in fresh compost don’t need feeding for the first four to six weeks. After that, a liquid seaweed feed or a general all-purpose liquid fertiliser every two to three weeks during the growing season will keep things going well. Avoid heavy feeding with nitrogen-rich fertilisers, as this can produce lots of leafy growth with reduced flavour — less is more when it comes to feeding herbs.
Making the Most of Your Harvest
One of the best things about growing herbs from cuttings is that harvesting actually encourages the plant to produce more growth. For basil and mint, pinching out the growing tips regularly keeps the plant bushy and delays flowering. For rosemary and thyme, light trimming after flowering in summer helps maintain shape and encourages fresh growth.
Once your propagated herbs are established, you have plenty of options for using and preserving the harvest. If you end up with more than you can use fresh, the herb preservation guide covers freezing, drying, and infusing in oil — all reliable ways to make the most of a bumper crop. A batch of basil-infused olive oil or cilantro-infused oil made from homegrown herbs is one of those small pleasures that feels genuinely rewarding.
Common Problems and How to Fix Them
Even with the best technique, cuttings don’t always cooperate. Here’s what to do when things go wrong.
Stems going slimy in water: This usually means the water hasn’t been changed frequently enough, or leaves are rotting below the waterline. Start fresh with a clean jar and make sure no leaves are submerged.
No roots after three weeks: Check the position — is the jar in bright enough light? Is the water too cold? Basil in particular is sensitive to cold. Move to a warmer spot and be patient; some cuttings just take longer.
Leaves yellowing or dropping: This can indicate root rot (if the stem is also soft and mushy) or simply that the cutting is adjusting to its new conditions. A slightly yellow leaf or two is normal; widespread yellowing with a soft stem means the cutting has probably failed and it’s time to start again.
Roots have formed but the plant wilts when potted up: This is called transplant shock and is common. Keep the newly potted plant in a shaded spot for a few days, water gently, and it should recover. Covering loosely with a clear bag can help maintain humidity while it establishes.
Frequently Asked Questions
Can I propagate supermarket herb pots? Yes, absolutely. Supermarket herb pots are often planted very densely with multiple seedlings — they’re actually ideal for dividing out and repotting, as well as taking cuttings. Basil and mint from supermarket pots root very readily in water.
Do I need rooting hormone powder? Not for soft-stemmed herbs like basil, mint, and lemon balm — they root readily without it. It can be helpful for trickier hardwood cuttings like rosemary and thyme, but isn’t essential.
When is the best time to take cuttings? Late spring to midsummer is the best time for most herbs, when plants are growing actively. You can take cuttings at other times of year but they may be slower to root. Early spring division of clumping herbs like chives can be done as soon as new growth appears.
How long can I keep cuttings in water before potting up? For best results, pot up once roots are 2–3cm long. Leaving cuttings in water for too long can result in roots that struggle to adapt to compost. Mint is more tolerant and can stay in water longer.
Will a propagated herb taste the same as the parent plant? Yes — cuttings are genetically identical to the parent plant, so the flavour will be exactly the same. This is one of the advantages of vegetative propagation over growing from seed, where flavour can vary slightly.
Can I propagate herbs in autumn or winter? It’s possible but slower. With basil, it’s really not worth trying in winter as the plant needs warmth and light. Mint and rosemary can be propagated indoors in winter under a grow light, but spring and summer give much better results.
Starting Your Own Propagation Habit
Once you start propagating herbs from cuttings, it becomes one of those satisfying habits you keep coming back to. A jar of basil stems on the windowsill, a few rosemary cuttings in a pot of sandy compost on the patio, chives clumps divided and shared with neighbours in early spring — it all adds up to a constant supply of fresh herbs without ever needing to buy them.
Start with basil or mint if you’re completely new to it. Both are near-foolproof and will give you roots within a week or two, which is enormously encouraging. From there, working up to rosemary and thyme, experimenting with cilantro, and building a proper propagation setup feels like a natural progression. It’s genuinely one of the most rewarding parts of growing your own herbs at home.
Continue Your Journey
- Planning Your Perfect Herb Garden — how to lay out your growing space for the best results
- Hydroponic Herb Growing in Mason Jars — take your windowsill water garden to the next level
- Kitchen Herb Micro-Gardens: Windowsill Growing Success — growing herbs in small spaces
- Early Spring Herbs: Your Guide to Getting Started — what to divide, plant, and propagate as the season begins
- Herb Preservation: Save Your Harvest — what to do when your propagated herbs produce more than you can use fresh
Which herb are you going to try propagating first? Drop a comment below and let us know how you get on — we’d love to hear about your windowsill propagation setup!
Want more herb growing guides, seasonal tips, and DIY projects delivered straight to your inbox? Sign up for the Green Herb Guru newsletter.